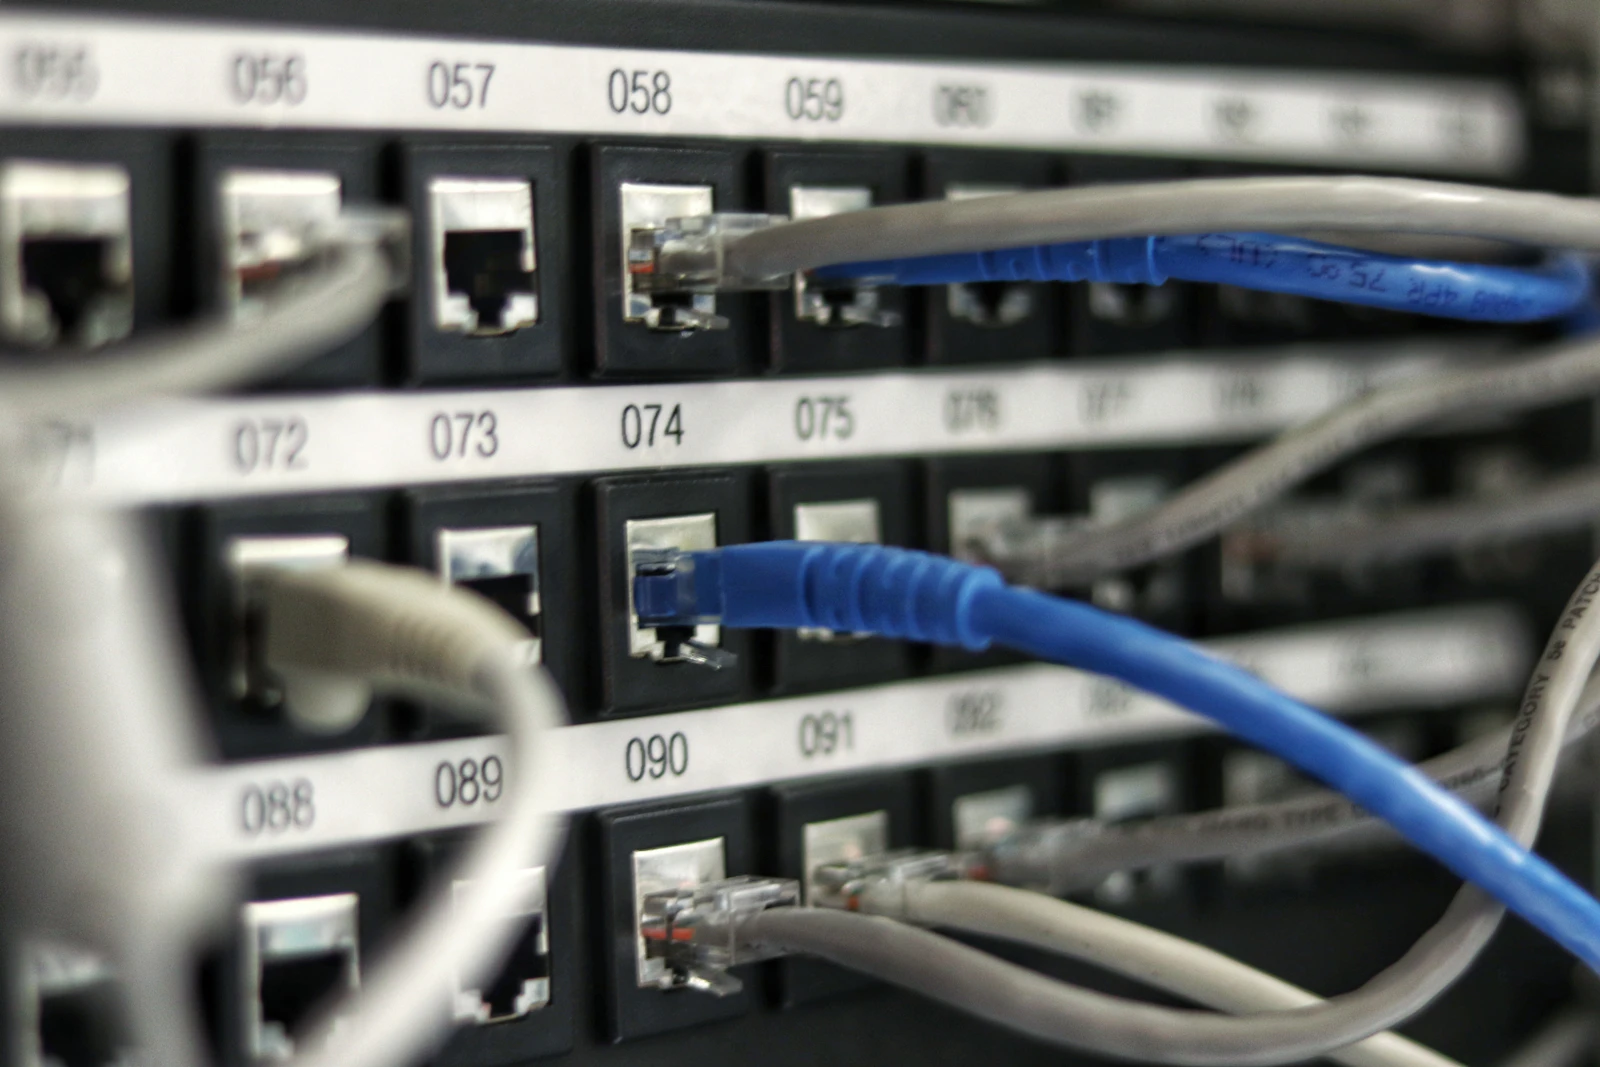
Decommissioning a data center is not the reverse of installing one. Installation focuses on making services available. Decommissioning must prove that services were migrated or intentionally retired, sensitive data was controlled, assets were accounted for, utilities and physical infrastructure were handled safely, and equipment reached an approved final destination. Missing one dependency can cause an outage. Missing one drive can create a reportable security problem.
A data center decommissioning checklist is a controlled sequence for discovering dependencies, approving shutdowns, backing up required information, sanitizing storage, removing network and power infrastructure, reconciling assets, and documenting reuse or recycling. The checklist should be adapted to the environment; a five-server office closet is different from a colocation cage, healthcare server room, or multi-rack enterprise site.
Organizations that need equipment inventory, secure handling, resale evaluation, and recycling can incorporate IT asset disposition services into the project plan. The disposition vendor should be involved before removal day—not after unidentified equipment has accumulated on the loading dock.
Key Takeaways
- Decommissioning must prove services were migrated, data was controlled, assets were reconciled, and equipment reached an approved final destination.
- Dependency discovery — DNS, DHCP, authentication, routing, monitoring, out-of-band management — prevents outages that automated inventory tools alone will miss.
- Every media-bearing asset needs an assigned sanitization or destruction outcome before it leaves the building; "unknown" is a temporary status, not a disposition.
- Chain of custody with serialized tracking and controlled staging closes the accountability gap between the rack and the recycler.
Phase 1: Establish scope, authority, and success criteria
Start with a written scope. Identify rooms, cages, racks, circuits, cabinets, network zones, equipment classes, and excluded assets. Name the project owner and the people authorized to approve shutdown, release assets, witness destruction, or accept exceptions.
Define success in measurable terms. Examples include: all approved workloads migrated; no production traffic on retired interfaces; all serialized assets reconciled; all storage media assigned a sanitization result; certificates and reports delivered; leased assets returned; and rooms released to facilities without abandoned batteries or cabling.
Create a change window and rollback plan. A decommission may contain several smaller changes: migrate an application, move a WAN circuit, replace a firewall, shut down hosts, remove storage, and then remove racks. Treating the entire project as one irreversible event makes troubleshooting harder.
Phase 2: Discover technical and business dependencies
Inventory tools are useful but rarely complete. Combine automated discovery with physical inspection and interviews. Record hostname, serial number, asset tag, IP address, rack unit, owner, function, support status, storage configuration, and disposition plan.
Trace dependencies beyond servers. Look for DNS records, DHCP scopes or relays, NTP, identity services, certificate services, monitoring, syslog, backup targets, replication, remote management, load balancers, VPN tunnels, routing protocols, ACLs, phone systems, cameras, badge access, environmental sensors, and out-of-band management.
An old switch may still carry a management VLAN. A server with low CPU use may provide licensing, time synchronization, or authentication. A forgotten cross-connect can support a carrier circuit. Before declaring equipment inactive, validate traffic and consult application owners.
Use the OSI model to structure verification. At the physical layer, document power, copper, fiber, optics, patch panels, and carrier handoffs. At Layer 2, record VLANs, trunks, link aggregation, and MAC dependencies. At Layer 3, record addressing, routes, ACLs, NAT, and gateways. At higher layers, confirm name resolution, authentication, sessions, and application behavior.
Phase 3: Build the asset and media register
Do not use one line such as "10 servers" when security requires drive-level accountability. The register should distinguish chassis, installed media, removable media, network modules, power supplies, rails, optics, and accessories when those items affect custody or value.
Identify storage in unexpected locations. Firewalls and routers may use compact flash, SD cards, SSDs, or embedded flash. Hyperconverged nodes can contain many drives. Storage arrays may include cache modules and failed drives held inside the chassis. UPS and controller systems may retain logs or configuration. Printers and multifunction devices can contain internal drives.
Assign each media item an intended outcome: reuse after verified sanitization, return to lessor, physical destruction, hold for investigation, or processing under another policy. Unknown is a temporary status, not a final disposition.
Phase 4: Protect data and preserve required records
Confirm that required backups are complete, readable, and retained according to policy. A successful backup job is not the same as a tested restore. Preserve configurations, licenses, encryption keys, logs, or system images only when there is an approved business or legal need. Avoid keeping sensitive exports indefinitely "just in case."
Determine sanitization requirements before equipment is moved. NIST-style media-sanitization planning considers media type, sensitivity, reuse destination, available sanitization capabilities, and verification. Clear, Purge, and Destroy describe different levels of outcome; no single method is correct for every device.
Encryption is valuable but does not eliminate process requirements. If cryptographic erase is selected, confirm that encryption was properly implemented, keys can be sanitized as required, and the method applies to the device. Failed drives or unknown encryption states may require physical destruction. Use a documented data destruction process for media that cannot safely enter reuse.
Phase 5: Plan network cutover and shutdown
Create a port-level and circuit-level cutover plan. Identify old and new paths, expected link speed, VLAN assignments, IP changes, routing impact, firewall policy, and rollback steps. Schedule carrier changes separately when lead times are long.
After moving a service, test more than ping. ICMP reachability does not prove DNS, authentication, application ports, routing symmetry, MTU behavior, or monitoring. Validate from representative source networks and confirm logs and alerts.
Watch auto-negotiation and duplex. Modern Ethernet normally negotiates correctly, but mismatched configurations can cause errors and poor performance. Review interface counters for CRC errors, drops, flaps, and unexpected speed. For fiber, match optic type, wavelength, speed, connector, and fiber type. Single-mode and multimode optics should not be mixed casually. Respect bend radius and keep connectors clean.
Once dependencies are migrated, administratively disable old interfaces where appropriate and observe. A controlled quiet period can reveal forgotten dependencies before physical removal.
Phase 6: Shut down systems safely
Obtain application-owner approval, stop services cleanly, complete final replication or backup, and shut down operating systems before removing power. Label systems that must remain powered. Use a two-person verification for high-risk equipment.
Coordinate with facilities for UPS systems, PDUs, batteries, cooling, fire suppression, and electrical work. IT personnel should not perform work outside their qualifications. Batteries and energized equipment require appropriate handling. Clean-agent fire suppression and hot-aisle/cold-aisle arrangements also affect safe access and removal sequencing.
Do not remove racks early. Racks provide organization and grounding during the controlled removal of equipment. Pulling cabinets before cables and devices are mapped can turn a manageable project into a pile of unidentified assets.
Phase 7: Remove and sort cabling
Use labels and photographs before disconnecting. Separate active carrier circuits from internal patching. Verify both ends of any cable before removal. Copper cables may include Cat5e, Cat6, Cat6A, console cables, telephone wiring, and proprietary leads. Fiber may include single-mode, multimode, duplex LC, SC, ST, or MPO assemblies.
Fiber connectors are sensitive to dust and damage. Cap reusable connectors, avoid looking into fiber ends, and use proper cleaning and test procedures. Maintain minimum bend radius. For duplex links, preserve transmit/receive polarity. MPO trunks can have polarity schemes that are not obvious from appearance alone.
Sort cables into reuse, resale, recycling, or disposal streams. Remove abandoned cable only within the building owner's rules and applicable code requirements. Document pathways that remain for future use.
Phase 8: Establish chain of custody on removal day
Create controlled staging zones. Equipment approved for release should be physically separated from active equipment, legal holds, leased assets, and media awaiting a decision. Restrict access to the staging area.
Scan or record serial numbers as assets leave racks and again when loaded or received, depending on project requirements. Record exceptions immediately. An unreadable label should generate an exception record, not a guess. Use sealed containers or other controls for loose media. Capture custody transfers with dates, times, responsible parties, and signatures or system records.
For large Orange County projects, discuss site access, dock scheduling, elevators, parking, lift requirements, and security procedures before arranging business electronics pickup.
Phase 9: Sanitize, destroy, remarket, or recycle
Disposition should follow asset-level decisions. Equipment with useful life may be tested and remarketed after approved sanitization. Components may be harvested for reuse. Failed, obsolete, unsupported, or low-value hardware may enter responsible recycling. Media may follow a separate destruction path.
The project should not treat recycling and data destruction as synonyms. Recycling recovers materials and manages electronics responsibly. Sanitization addresses information risk. A device may require both processes in a defined order.
Ask how exceptions are handled, how downstream disposition is recorded, and what documentation will be provided. Review the site's electronics recycling service and processing workflow when planning the scope.
Phase 10: Reconcile and close the project
Compare the authorized inventory, pickup record, receiving record, sanitization results, destruction records, resale or reuse results, and final recycling quantities. Resolve discrepancies before closing the project. Track devices added after the original scope and assets removed by other teams.
Update configuration management records, IP address management, monitoring, DNS, support contracts, warranties, licenses, insurance schedules, and financial asset registers. Remove stale accounts, API keys, VPN objects, certificates, firewall rules, and monitoring checks when approved.
Conduct a post-project review. Record outages, unidentified dependencies, inventory gaps, damaged equipment, scheduling problems, and opportunities to improve the next refresh. A decommission should leave better records than it inherited.
Condensed data center decommissioning checklist
- Approve scope, authority, change window, and rollback plan.
- Inventory racks, devices, storage media, optics, circuits, and accessories.
- Map physical, Layer 2, Layer 3, application, identity, and monitoring dependencies.
- Confirm backups and restore requirements.
- Assign a sanitization and disposition outcome to each media-bearing asset.
- Migrate services and validate more than basic connectivity.
- Disable and observe retired paths before unplugging them.
- Shut down systems cleanly and coordinate electrical, cooling, UPS, and battery work.
- Label and remove copper and fiber without losing circuit identity.
- Control staging areas and document custody transfers.
- Reconcile serialized assets, exceptions, sanitization, destruction, reuse, and recycling.
- Update technical and business records and complete a lessons-learned review.
Frequently asked questions
How long does a data center decommission take?
It depends on rack count, dependency complexity, migration readiness, carrier changes, security requirements, access restrictions, and documentation. Discovery and approvals often require more calendar time than the physical removal.
What should be inventoried before server removal?
At minimum, record asset identifiers, hostname or function, rack position, owner, dependencies, storage media, support or lease status, and intended disposition. High-risk environments may need drive-level tracking.
Can all drives be wiped with the same software?
No. Sanitization capability varies by media type, interface, condition, firmware, and security objective. Failed or inaccessible media may require another method, including destruction.
Should network cables be recycled during decommissioning?
Reusable and valuable cabling should first be evaluated for retention or resale. Removed cables that will not be reused can enter an appropriate recycling stream, subject to building rules and code requirements.
Can OC Electronic Recycling handle server-room equipment?
Organizations can request a scoped discussion covering servers, storage, network equipment, media handling, inventory, logistics, and documentation. Project requirements should be agreed before pickup.
Final takeaway
A successful decommission proves that technology, data, and physical assets were all controlled. Dependency discovery prevents outages; Network+ fundamentals improve cutover and cabling decisions; sanitization planning protects information; and a documented ITAD workflow closes the accountability gap. To discuss an Orange County server room, office network, or data-center retirement, request a decommissioning and ITAD quote.


